How To Repurpose Cheap Christmas Ornaments With DIY Textured Paint
Are you tired of your old Christmas ornaments? Maybe you scored a haul of Christmas baubles at a thrift store and need a DIY tutorial to create a high-end look? Either way, you are in the right place!

Do you love luxury Christmas decor but can't make yourself pay the outrageous prices? You are not alone, my friend! My core interior design principle is to mix high-end pieces with affordable "dupes" to create a timeless look for less. Christmas is no exception, and I started a DIY list as soon as pulled out all of my holiday totes this year. I am a fan of adding trends with classic decor to balance out a room, and my goal each year is to DIY a trending decorative piece. By not splurging on trends, I am able to invest in high-end decor that I will use year after year. One project I chose to tackle this year was to repurpose cheap Christmas ornaments using textured paint to get a luxury look for less!
Do you want to know the best part about repurposing cheap Christmas ornaments with DIY textured paint? You can use any type of ornament you have! I have painted all types of shapes, sizes, and materials without issue so the sky is the limit. For this project, I used a combination of old glass and plastic ornaments, and this box of baubles I scored at a thrift store!
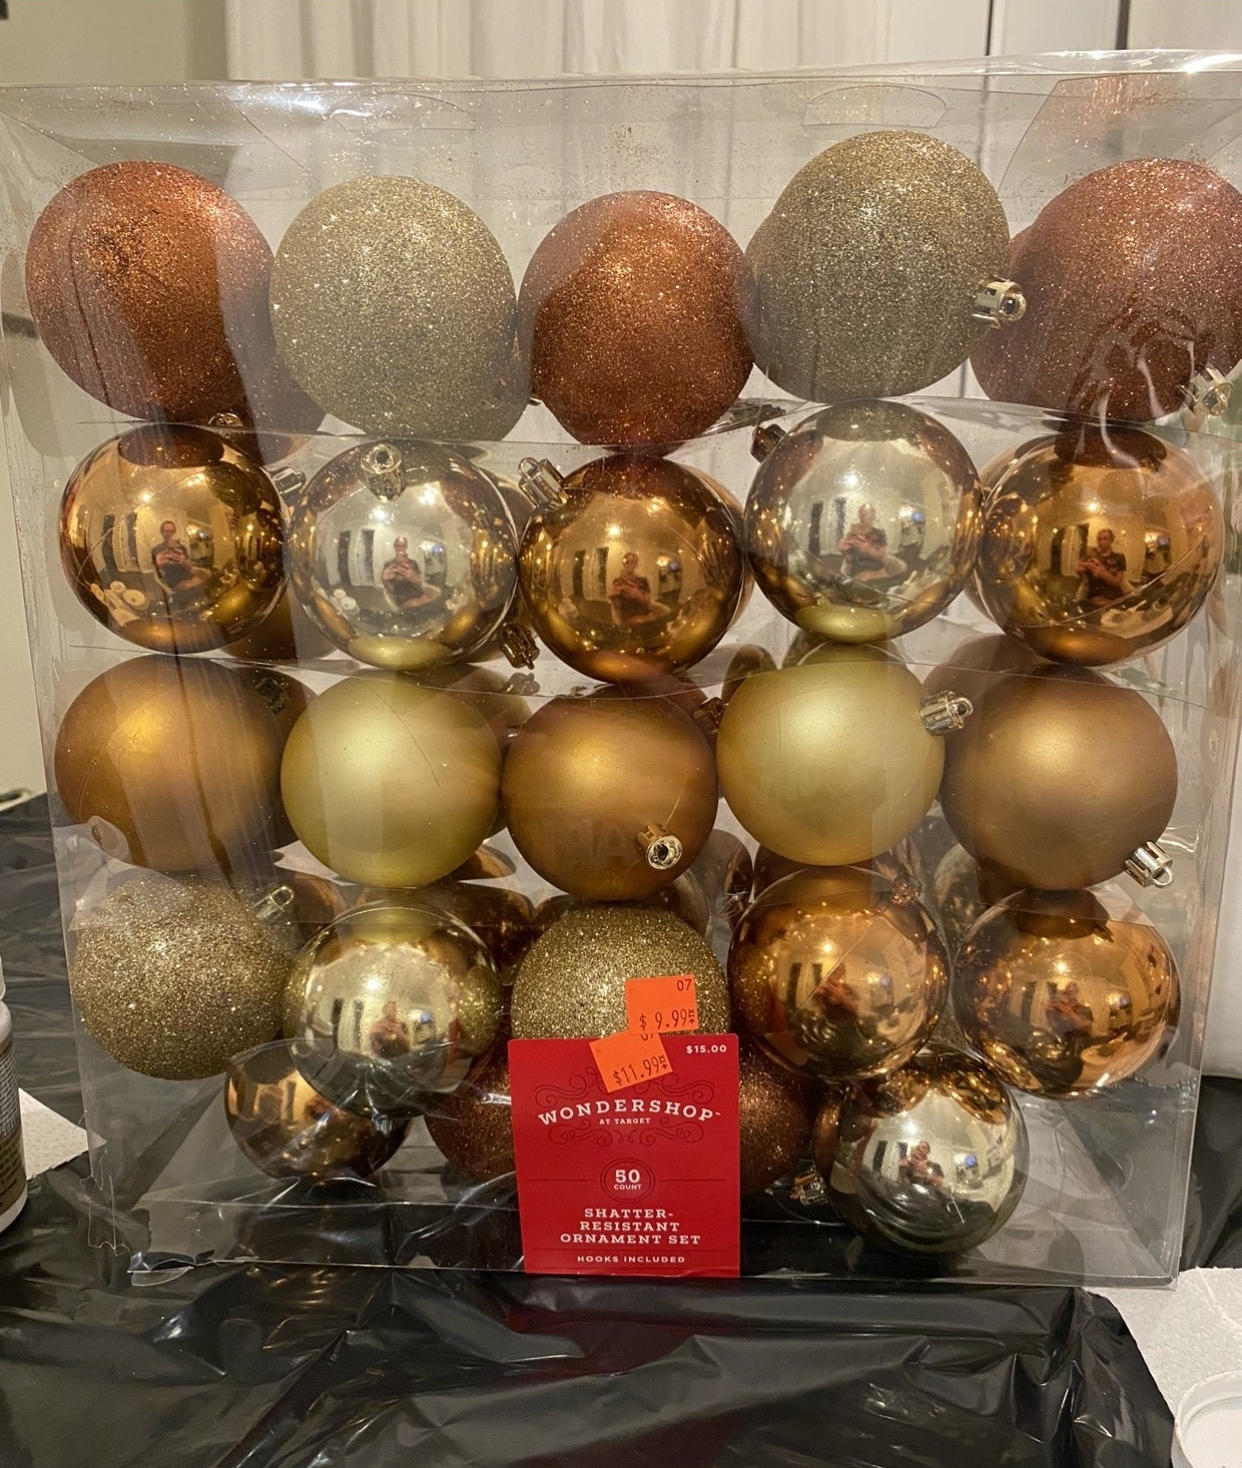
$10 for 50 baubles, can you say score?! I couldn't pass up this deal to use for my DIY textured Christmas ornaments. These baubles are plastic which makes them both pet and child friendly! I have a local salvage warehouse I go to each week and I was able to find some great Target pieces like these. Other places you can search for cheap ornaments to repurpose are places like: Goodwill, Facebook Marketplace, local thrift stores, etc. Don't forget to search through any old ornaments you or friends/family may have too!
Okay, so now you've decided you are ready to take on an easy DIY project to repurpose cheap Christmas ornaments. Let's go ahead and make a supply list so you can make sure you have everything you need to get started.
DIY textured Christmas ornament shopping list:
- Ornaments
- If you don't have any to use, here is a link to a set of 30 baubles on sale for $10 on amazon (use the 50% off coupon to get this price!)
- Paint of your choice
- I used several paints to get a variety of textured looks, but you can stick to one paint to make it easy! I have an entire shelf of leftover paint cans/samples so I always try to use what I have when I start a project.
- Types of paint I used and suggest: chalk paint, water-based latex paint, and acrylic paint. Click the links if you need an idea of where to purchase these! I chose a neutral palate for my project with subtle hints of color, but that is my go-to!
- Baking soda
- This is your secret ingredient to get textured paint!
- Paint brushes
- I used a 1" chip brush that you can find at any hardware store for around $1 (or you can use any small brush of your choosing but chip brushing add great texture!)
- Wooden chopsticks/skewer
- A canister or vase to hold drying ornaments
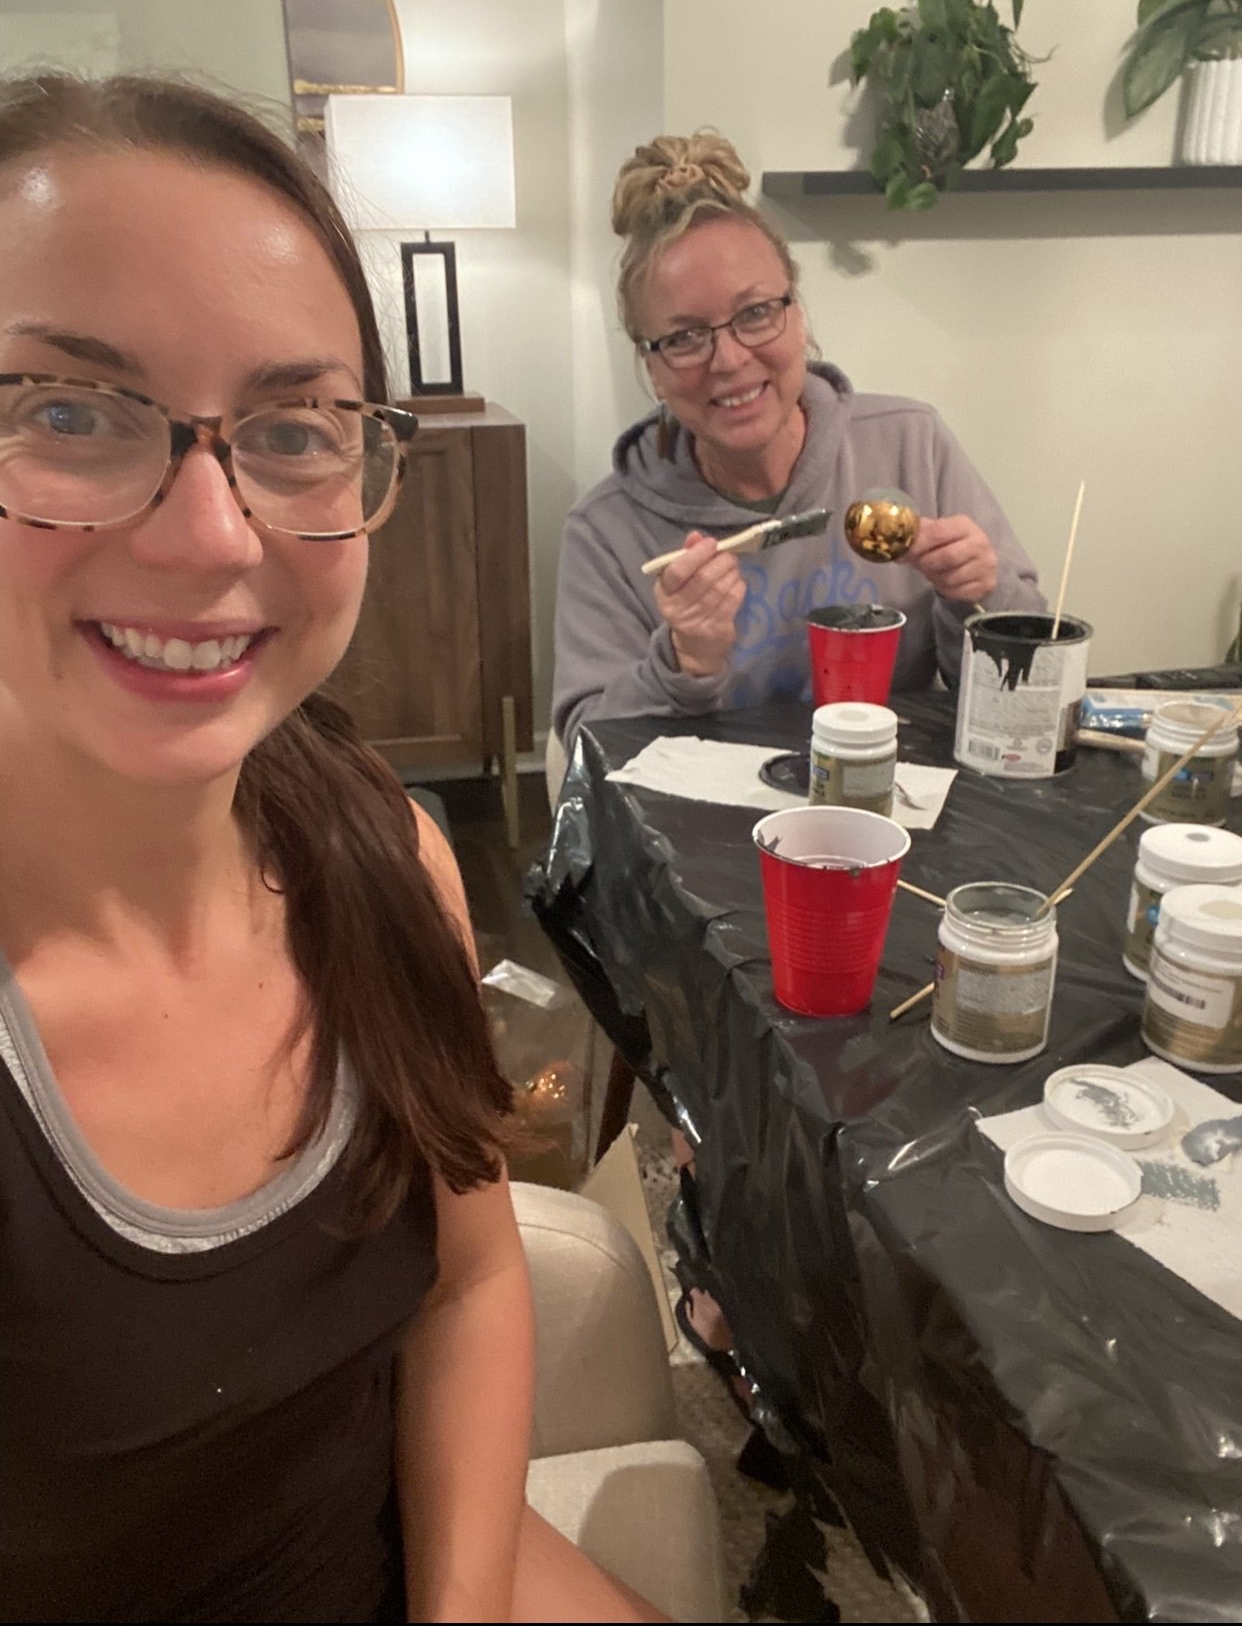
Color scheme, check. Supplies, check. Now it's time to prepare your project area! I chose to paint my DIY Christmas ornaments in the dining room, but you want to make sure you choose a well-ventilated area due to paint fumes. Next, I put down a barrier on my table to protect from any paint splatter. You can use newspaper, trash bags, cardboard, or anything you have around the house. I chose to cut open a large trash bag because I am always working on multiple projects at a time and my dining table is an ongoing Christmas extravaganza. One of these days I will learn to work on one project at a time... but today is not that day!
Alright, now it's time to start painting. *Pro tip: Invite someone you love to join in on the fun. I convinced my mom to spend the day working on DIY Christmas Ornaments and the more, the merrier!*
Are you ready to start repurposing your cheap Christmas ornaments into luxury dupes? Let's go!
List of steps to repurpose cheap Christmas ornaments with textured paints:
1) Pour your chosen paint into the container of choice. You can use disposable plates or line a paint tray with aluminum foil (these are my go-to options but you can use whatever you prefer!) I chose to to lay out large sections of aluminum foil on my garbage bag and pour out small sections of each paint color on the foil.
2) Mix baking soda in your paint of choice to create textured paint. I start with the general rule of 2 parts paint to 1 part baking soda and tweak the recipe based on the consistency. I wanted exaggerated texture on my ornaments so I chose to make the paint very thick (think cookie dough consistency which is more like 1 part paint to 1 part baking soda). The key is to get your paint thick enough to give the texture you want, but not too thick to where you can't spread it on the ornament. I know this may not be what you want to hear, but this project relies heavily on a trail and error basis. It may take you several tries you get the paint exactly how you want it which is how I worked through this project too! You are in good company, and the beauty of DIY is there truly is no wrong way to go. It's all about your journey and loving your end result! **Pro tip: You can always add more. If you don't have enough baking soda, add a small amount more and mix. If you have too much baking soda, add a small amount of paint and mix.**
3) Remove the tops of the ornaments and sit aside in groups of ornaments. Make sure you know which tops go with which ornaments as well. I learned this lesson the hard way by tossing them all in a pile, and I had to try individually to fit the correct top on each ornament. Learn from this lesson and save yourself an extra hour at the end of your project! For the tops, you can paint these a certain color or leave them as-is. This is completely up to your vision and color scheme, as most tops are versions of silver and gold. I chose to leave most of my tops original because I am a fan of subtle mixed metals!
4) Insert a wooden chopstick/skewer into the ornament opening and start painting! (see the picture below to show how I used the skewers to hold my ornaments)
5) You can try small brush strokes or "dabbing" the end of your paint brush onto the ornament. I used both of these methods when painting and I loved the variety it created! I tried not to touch anything besides the skewer during painting, but sometimes you have to keep your fingertip on the edge of the ornament to keep it from spinning. If you end up touching the ornament to steady it during paint be aware you will end up with paint coated fingertip! *Pro tip: My goal was to make unique ornaments that did not all match so I used various painting methods/color combinations to create a cohesive, neutral design! The beauty in textured ornaments in they look hand crafted and do not need to look the exact same.*
6) With your ornaments on the chopsticks/skewers, put the open end of the chopstick/skewer into your canister or vase I added to your supply list. You don't want the ornament to touch anything, so make sure it don't slide side to side. Allow dry time between coats!! This is imperative to creating the luxury dupe you came to achieve. Dry times will vary based upon your chosen paint and how thick your coats are. I suggest a minimum of 1 hour to dry between coats, but always test the tack of your ornaments before getting them near the tree! If any paint sticks to your finger when you gently touch it, add another 30 minutes to allow ample drying. You do not want paint residue on your beautiful (and expensive) tree! Here is a sneak peak of my ornament drying set-up:

7) Apply a second coat if needed after drying. This is optional because sometimes you are able to get the perfect coat on the first try. The beauty of textured ornaments is that imperfection IS perfection, so you aren't following a specific rule set.
8) After your ornaments have fully dried, you can put the tops back on. You should have these separated into piles for each ornament type so you can easily reassemble and start decorating! I chose not to add a clear coat to any of my ornaments because I wanted the matte, textured finish. If you have children or are afraid of wear-and-tear on your new luxury ornament dupes then feel free to add a matte top coat!
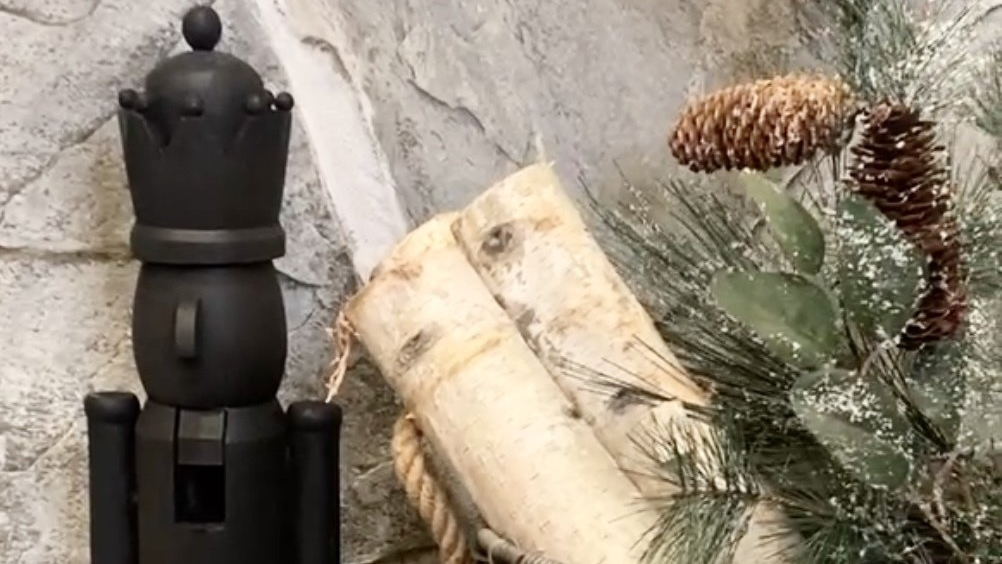
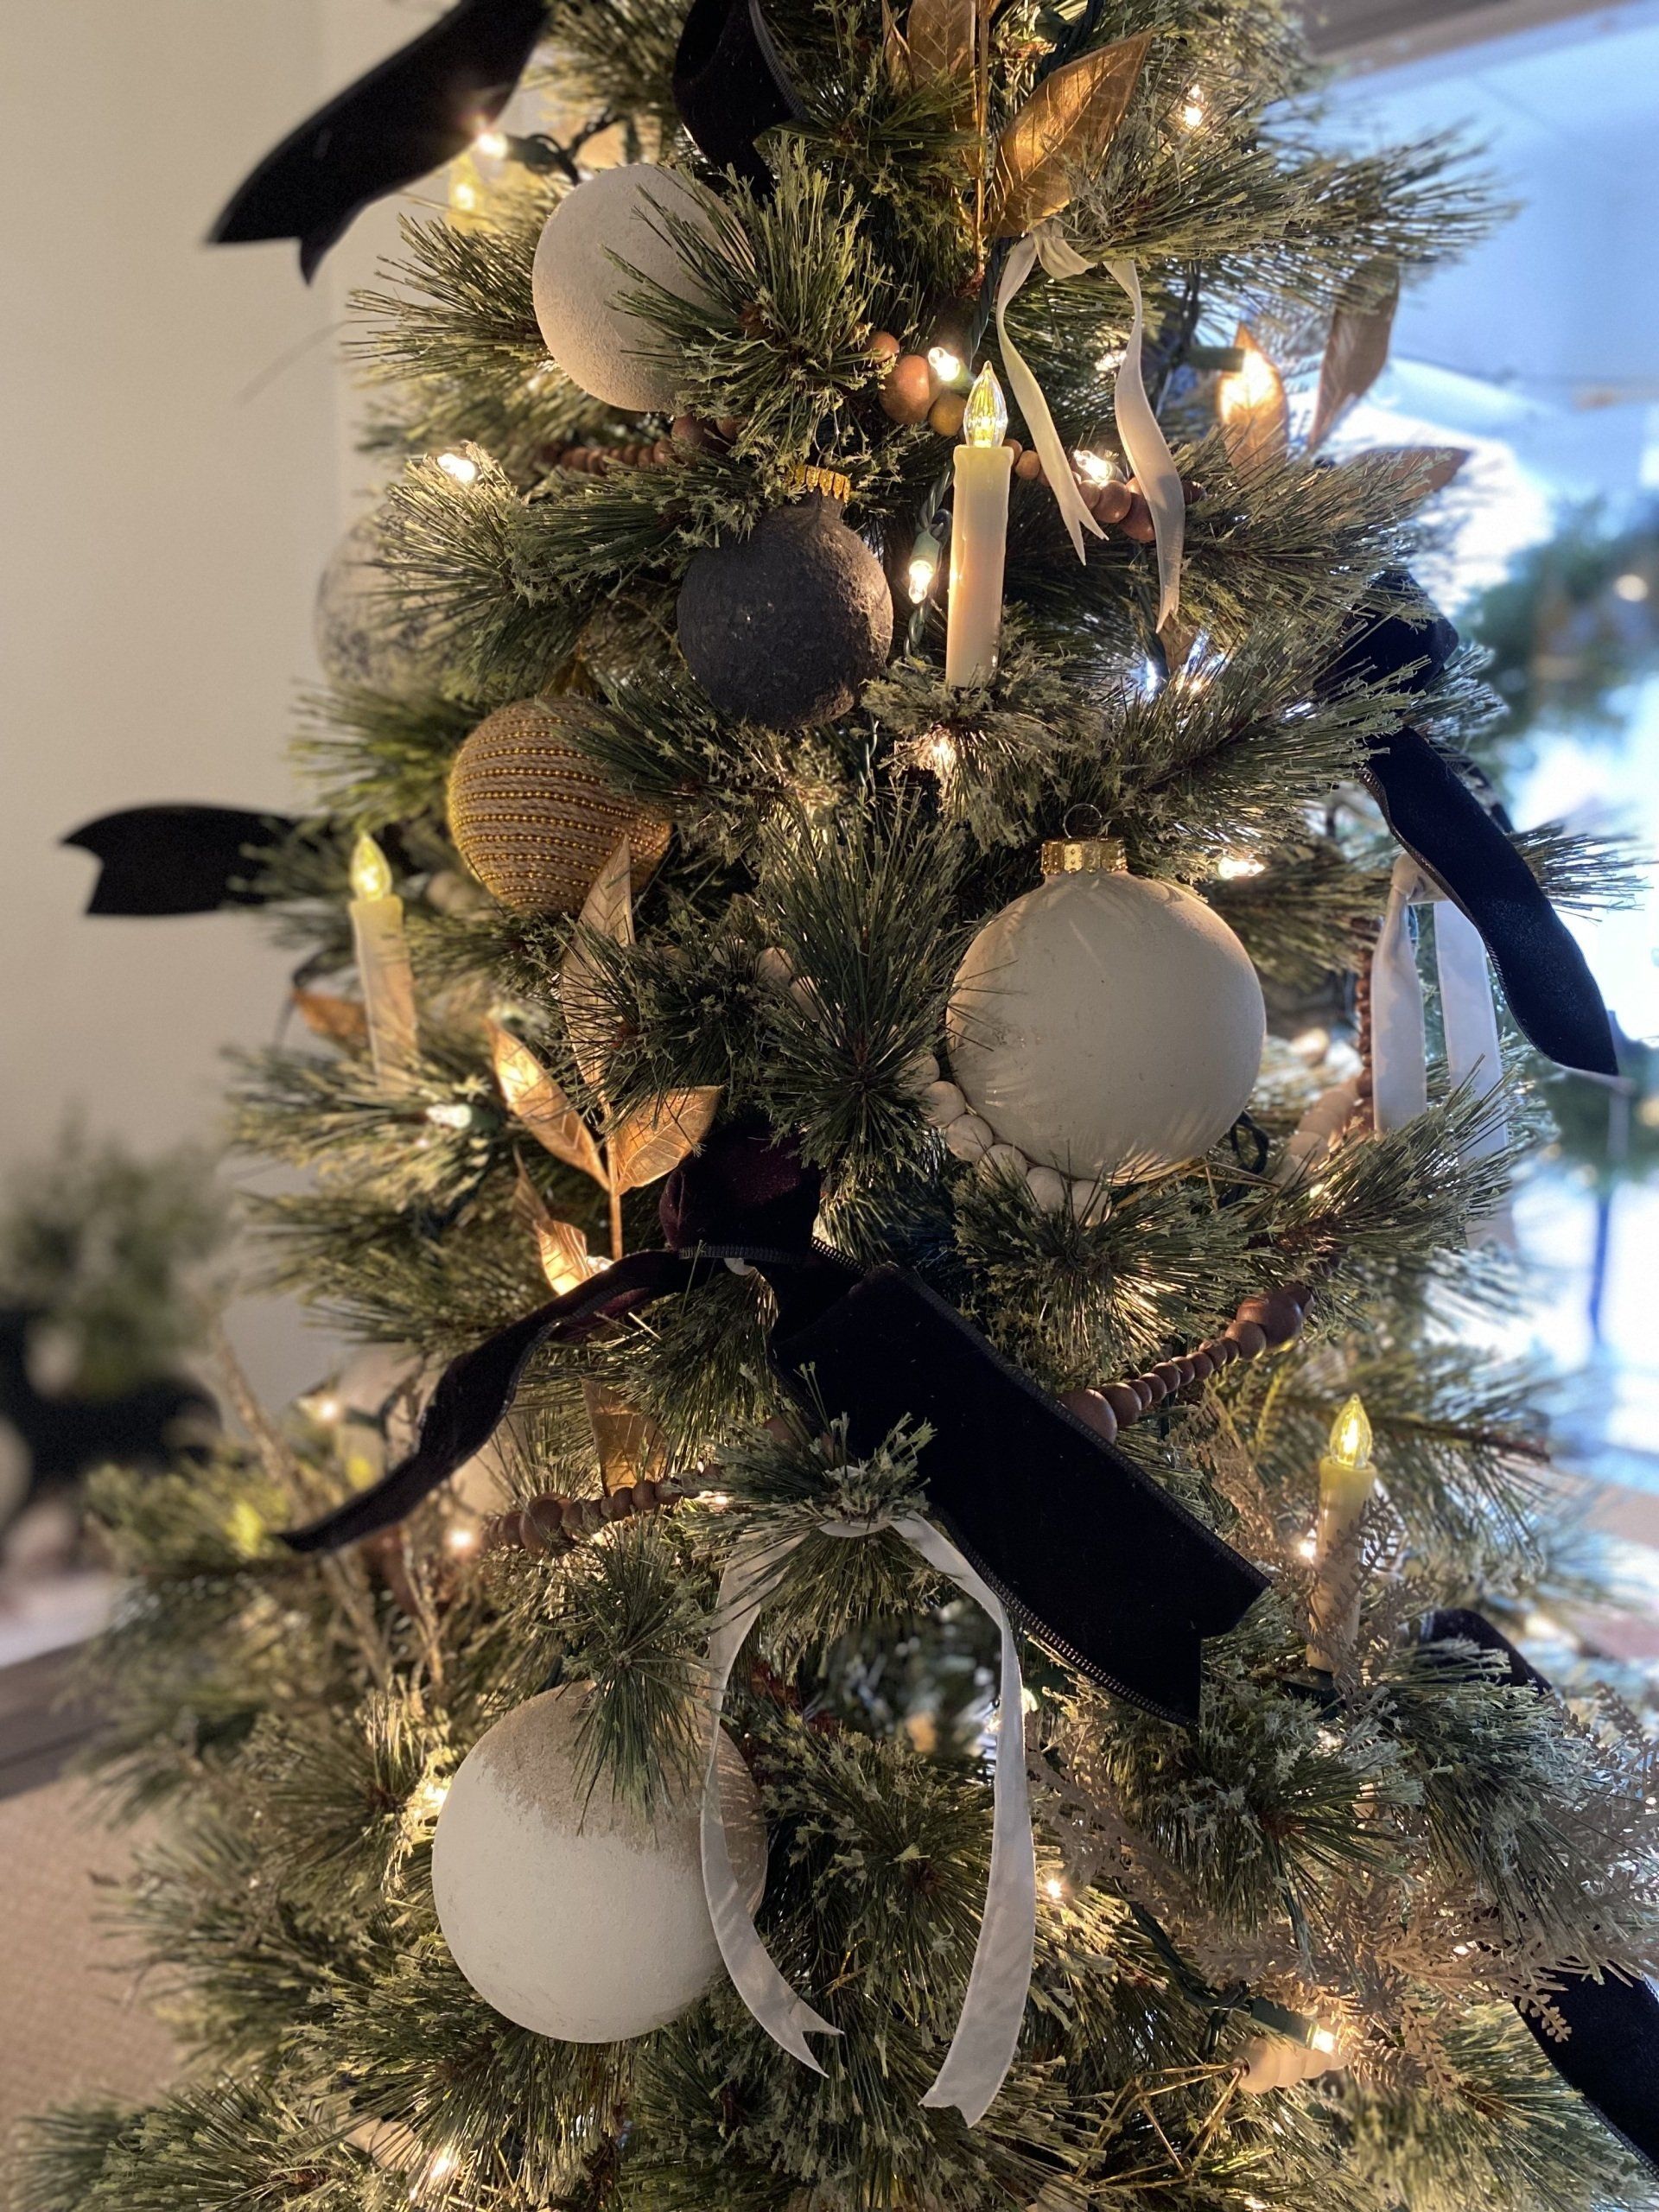
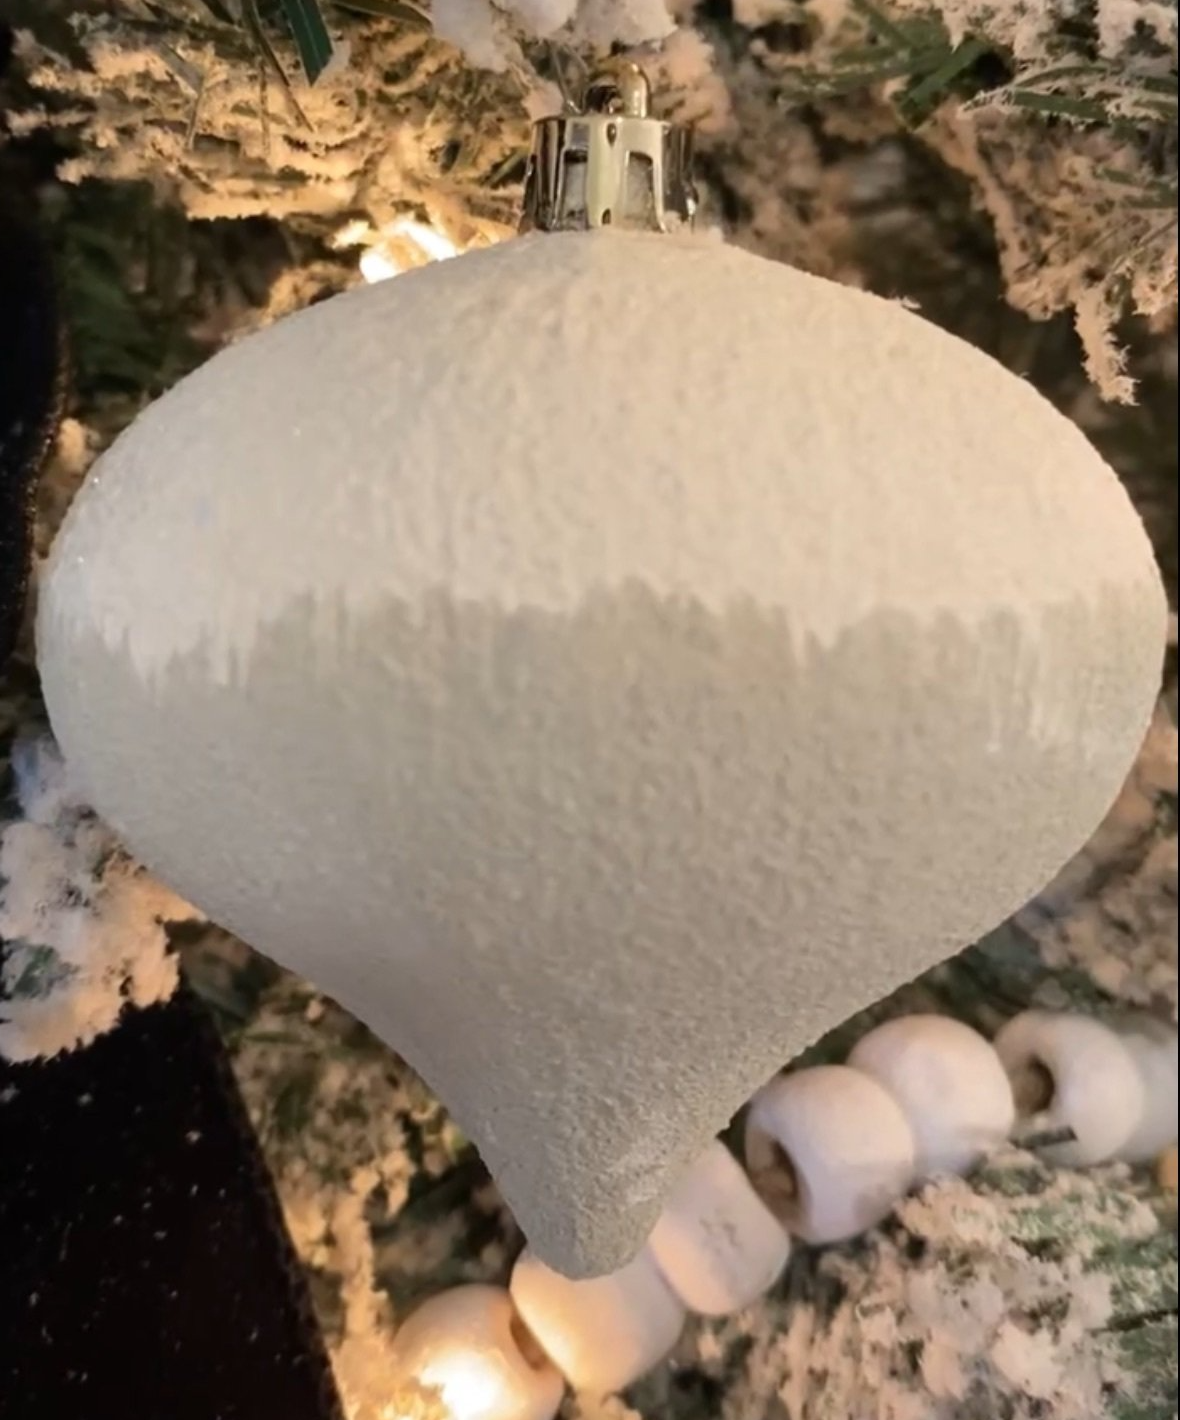
9)Step back and admire your final product. Do you love it as much as I do?! Here are a few photos to show my cheap Christmas ornaments turned luxury dupes with textured paint!
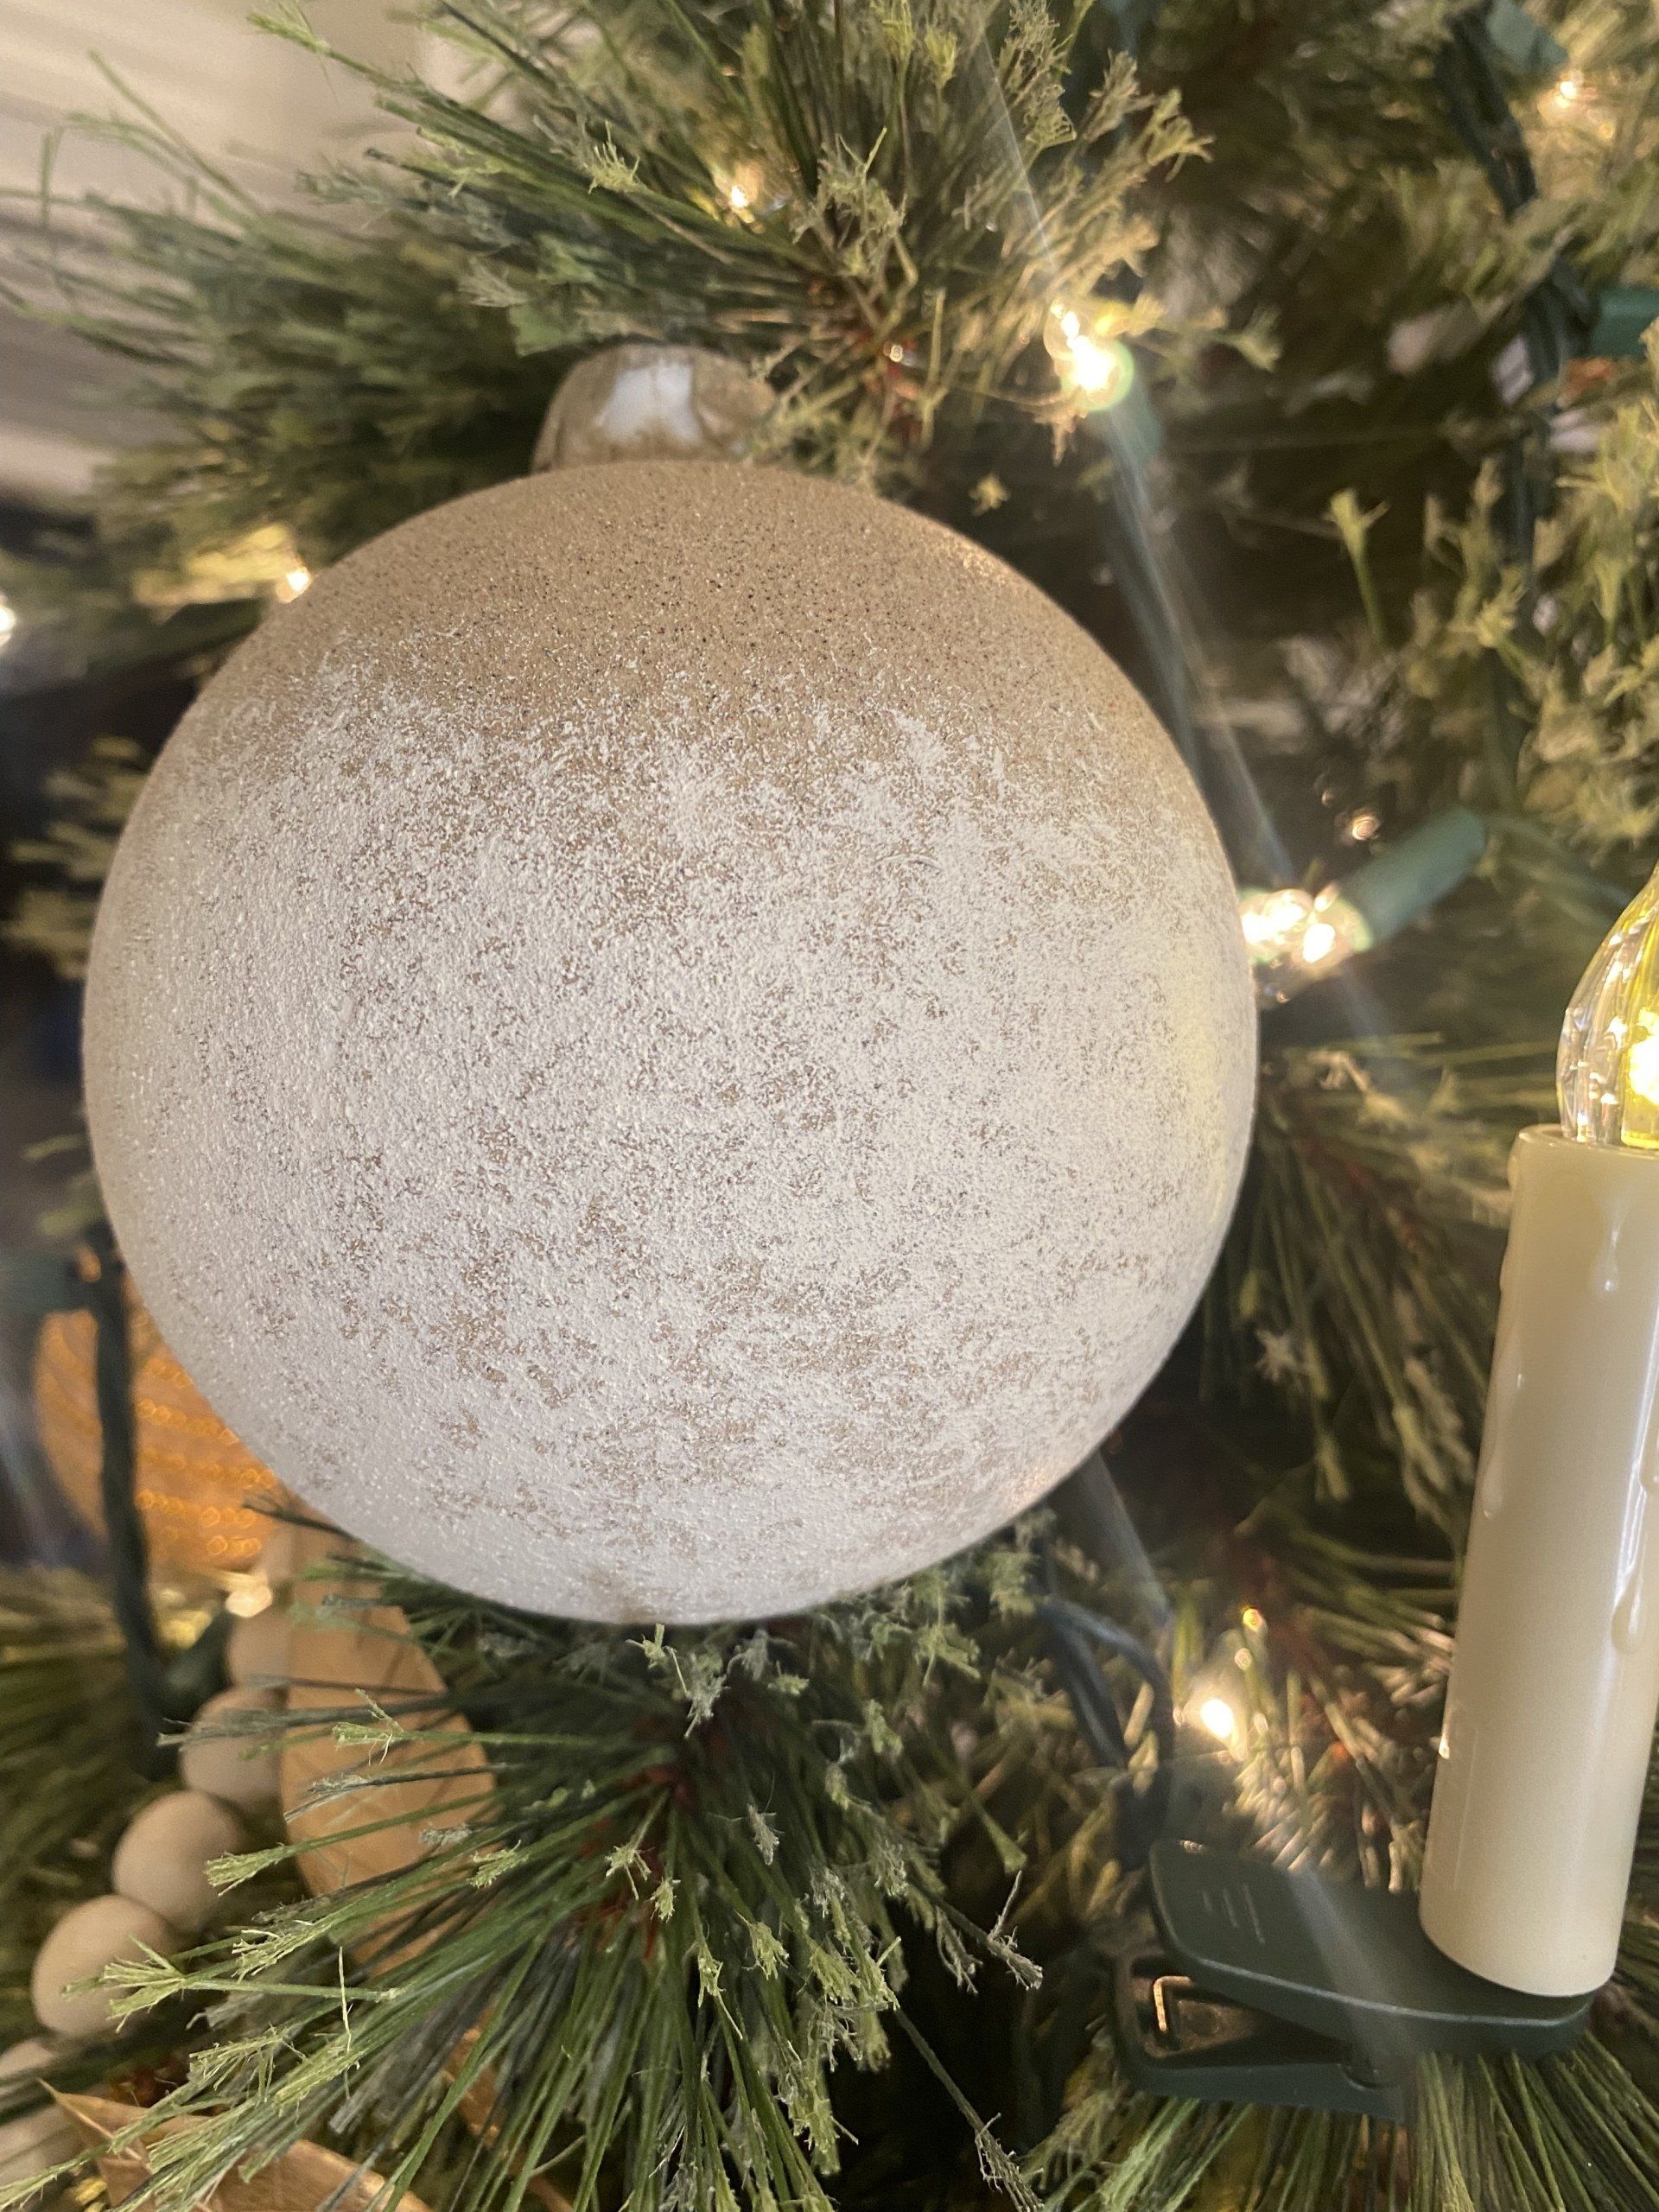

Alright, friend.... you did it! You officially repurposed cheap Christmas ornaments with textured paints and *hopefully* made the luxury dupe of your dreams. If you don't love your first few ornaments, that's okay too! My mom and I weren't happy with our first attempt and chose to thicken the paint for our second round to create our desired texture. I've said it before, and I will say it again. This project is about trial and error, and luckily when you DIY there is no wrong answer! Only lessons learned, and those help you achieve the perfect end result on your next try.
I truly believe in this philosophy as a self-taught DIYer. One big truth about life (and DIY) is you never know, until you try. So many people get stuck with "what if I fail" or "what if this turns out nowhere near what I pictured?" What is the worst that happens if you are right and your fears prevail? You are out a few dollars from your thrift store ornaments or your old ornaments that have been collecting dust for years are now not as you pictured? THAT'S OK! You can easily start this project again at step 1 and tweak your methods. Solve what didn't work the first time and make a change. I guarantee you will love your end result the second try!
If you are stuck and still can't figure out what is going wrong... please email me! I would love nothing more than to help you problem solve your DIY project. After all, I created this blog to make a community to empower one another. Let me help empower you! I believe in you as much as I believe in myself, because I also started these DIY projects with no experience. You won't learn unless you try, and you won't achieve beautiful results if you never start!
I hope you loved this project as much as my mom and I did! Feel free to comment or email me about your experience. I love to hear everyone's perspective on DIY projects and even learn new methods from each of you! Thank you as always for taking time to read my blog and follow my instagram for daily updates @thehouseofwatson. See ya on the next blog!
As always, remember: If I can complete a project, so can YOU!